


Figure 4 – representation of Global Illumination (GI) behaviour

Figure 5 – Examples of various lighting setup for interior automotive simulation

Figure 6 - Shining sun

Figure 7 - sky colors through the day

Figure 8 - sun casting rays of light through volumetric clouds

Figure 9 - examples of spot light effect

Figure 10 - Examples of point/omni light effect


Figure 12 - Main types of virtual light used in CG (Computer Generated) industry


Figure 16 - Example of a real life standard studio light setup

Figure 17 - Virtual scene of a standard studio light setup

Figure 18 - Different materials simulated with same conditions


Figure 23 - 3D scene of a hangar with studio light setup

Figure 24 - Hangar with studio and natural light setup


Figure 30 – Scene rendered with point light / omni light

Figure 31 – area light setup only (no walls)

Figure 32 – 3D scene rendered with area light setup reproducing natural light


Figure 34 – Example of IES lights

Figure 35 – IES lights as wall lights
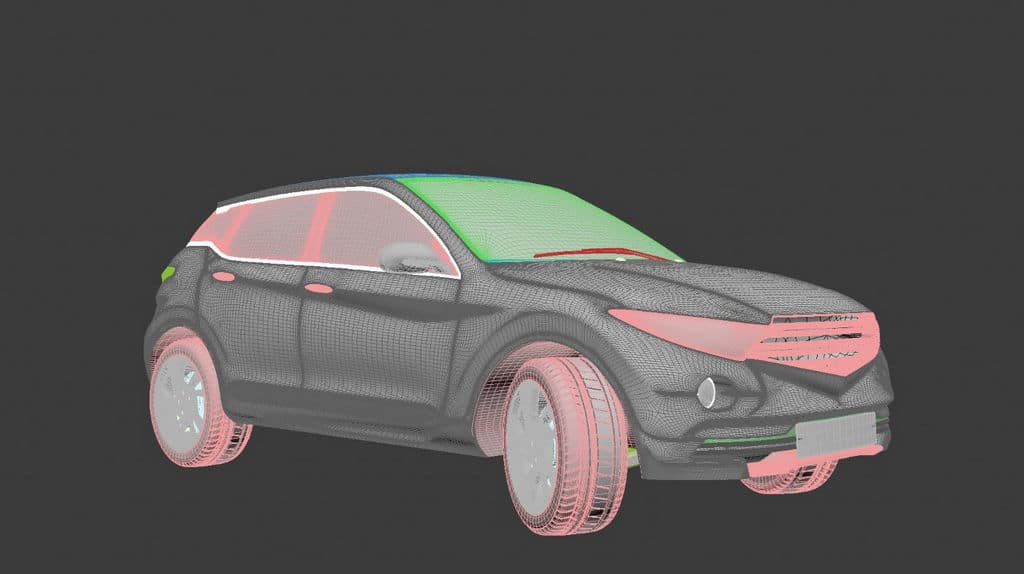
3D wireframe of a car
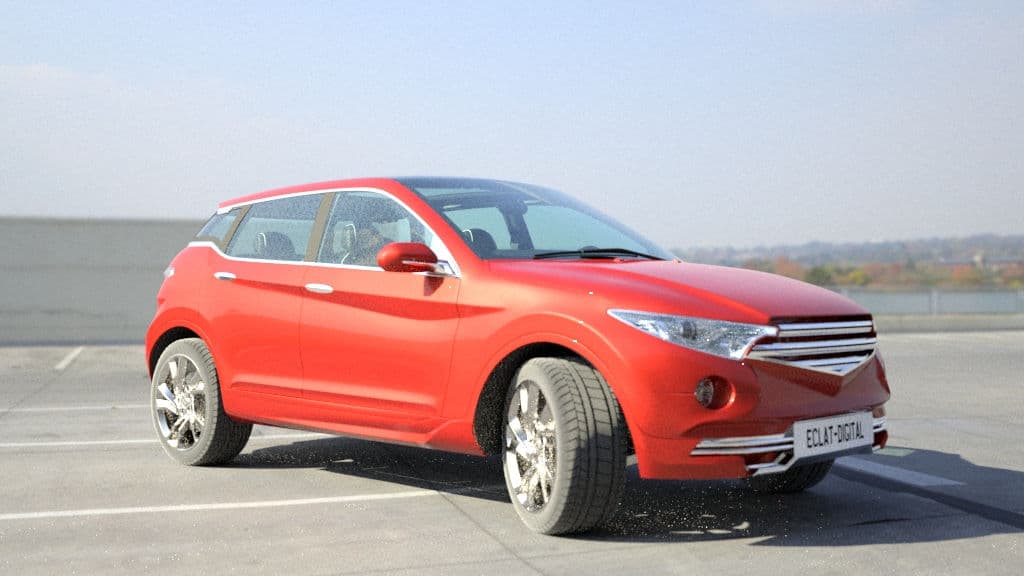
Final simulation of the car rendered in Ocean™ with an environment map

Figure 38 – 360° HDR environment map used in simulation (note that the orange car in the picture is not the same as the 3D car previously simulated)(SOURCE: https://polyhaven.com/hdris)

Figure 39 – Environment map node in Ocean™
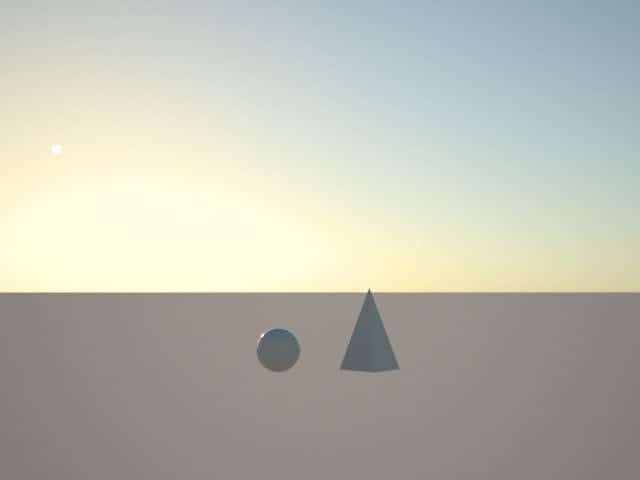
Procedural sky, sun 60° (rotation) + 10° (altitude)
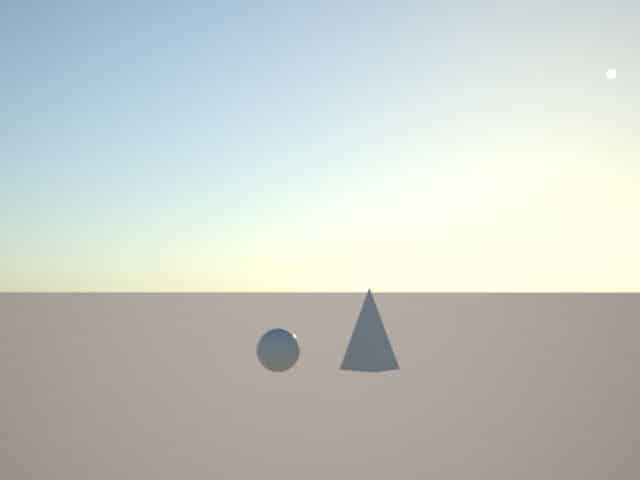
Sun 20° (rotation) + 15° (altitude)

Figure 42 – Procedural sky “Hosek-Wilkie” node in Ocean™


Ocean™’s Sky Importer: A complete guide to realistic lighting conditions
When dealing with physico-realistic rendering, namely in the case of daylighting studies, lighting conditions play a major role. Thus, be able to get weather information, namely radiative observables, for a given location is necessary to simulate realistic illumination conditions.

Light optimization study of a Greenhouse
Lighting study use case aiming at quantifying the amount of light that reaches the ground in a greenhouse to maximize the agricultural yield.

Responses